Get Cozy!!!


Get Cozy!!!
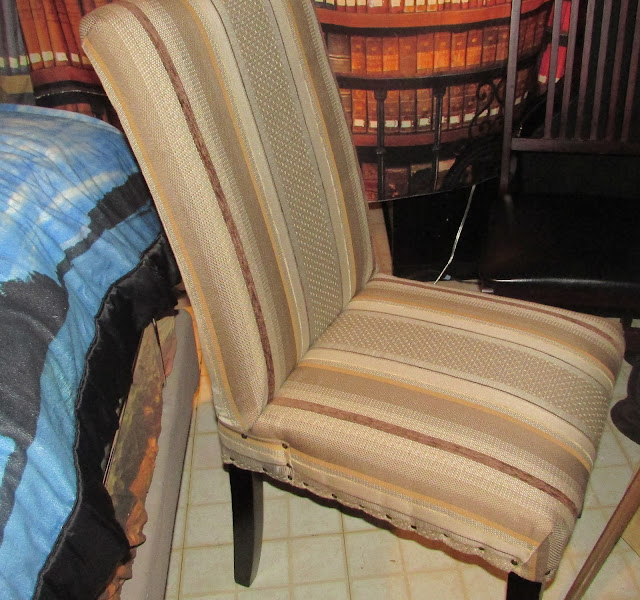
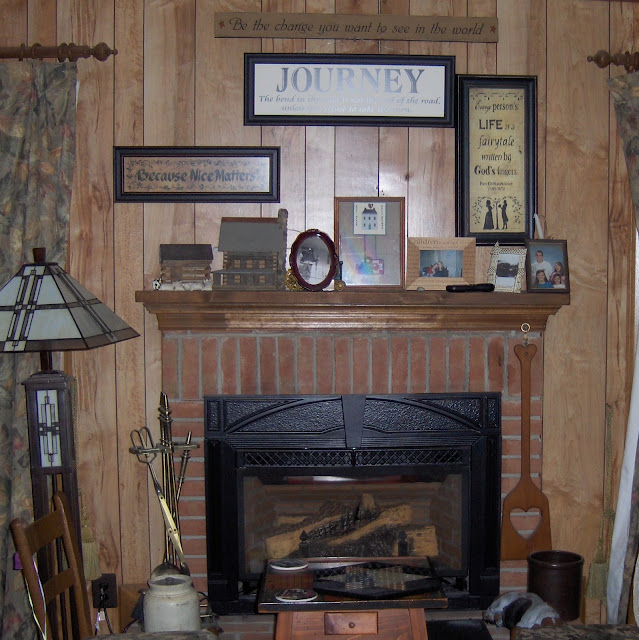
My Sewing Living Area Needed a New Look
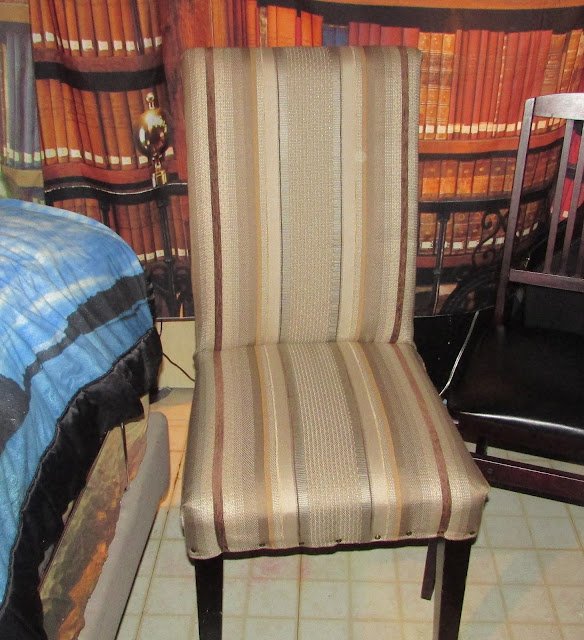
My Old Vinyl Parsons Chair was Cracking
I Love How Comfy this chair is.....
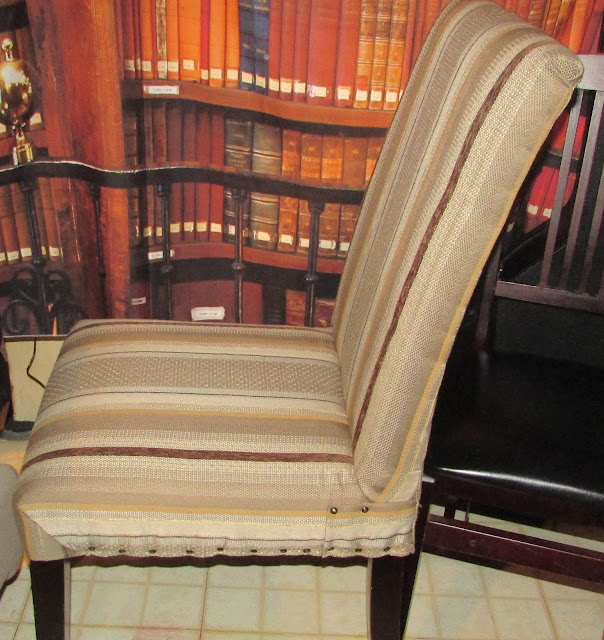
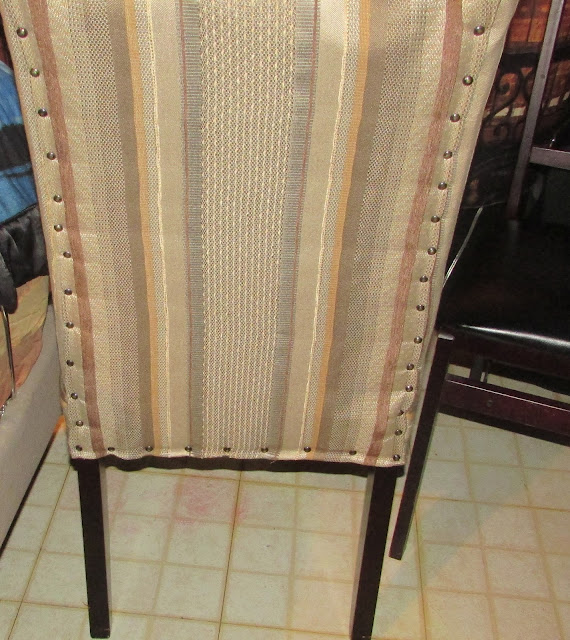
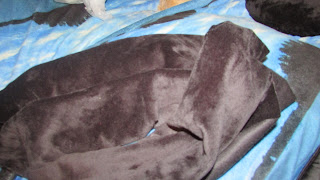
I found this nice striped upholstery fabric on the Flat Folds Sale Table
I got two pieces of this fabric to do this chair and a small old Wing Chair in the colors that match my room.
I bought the Gold and Black burnished upholstery tacks to give a little extra to the edges.


Small Round Lumbar Pillow
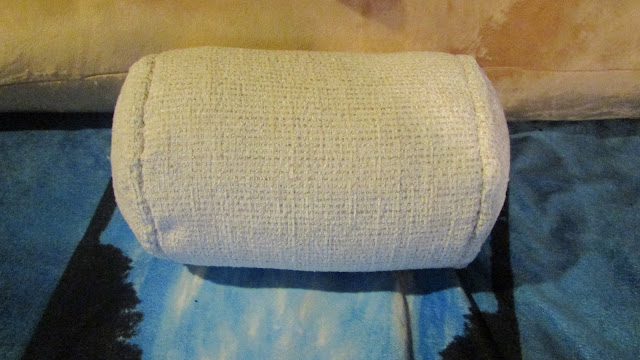
Done with some left over material from some Toss Pillows... Just enough
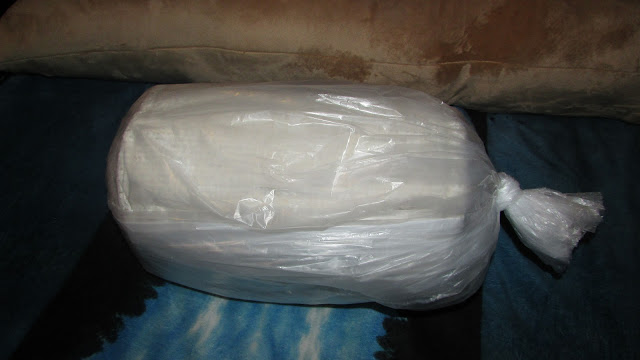
The Trim on the end sof the cylinder is a seam with the seam inside rolled in and topstitched to asimulate actual piping. There was not enough to do piping. There is an invisible zipper in the middle of the roll and it is using a premade insert from GstreetFabrics that was a 6 x 12 size of hypoallergenic stuffing.
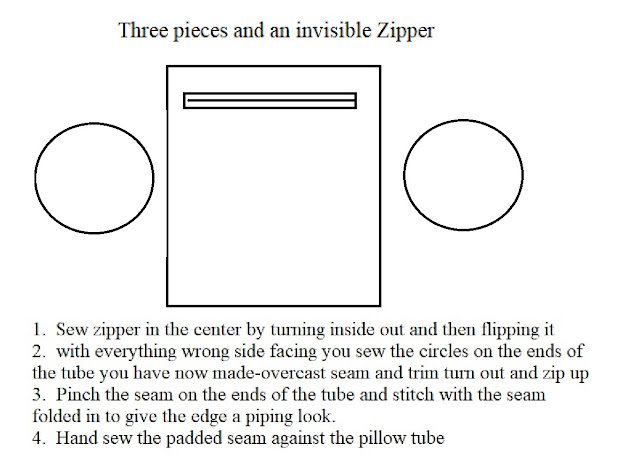
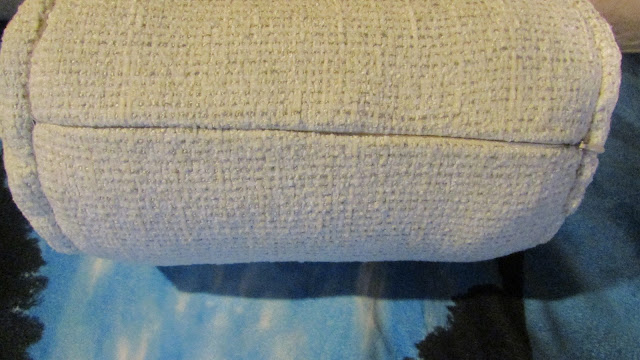

After sewing ends pinch seam and top stitch by machine and then handsew down to pillow end

DONE


I do use patterns... I take them apart and mix and match pieces to create exactly what I want. In this case I used the body of one, the cowell neck of another - expanded on the pocket idea from another sweater and decided to make the pocket band run accross the sweater on the inside front. I made a scarf and matching earrings. I picked this fabric to do, because of the holidays coming up and I have the silver glitter pants already made previously so this will go with them, perfectly.
1. Front piece cut on fold.
2. Back piece cut on fold.
3. Center of these is wide enough to cut a long scarf
4. Large cowel neck piece to foldover and sew onto neckline
sew the piece together which will be the center back and then foldover when you sew to neckline with an over cast stitch on the inside. Will make a large floppy cowell.
5. 2 sleeves.. one piece laid out on top of fabric folded over
6. Large piece the width of the front to fold over and sew into side seams and hem when you sew the front.
On this all of the stripes will be horizontal including the sleeves.
To add something different you can always do stripes vertical on the neck piece, scarf and pocket piece and put the pocket piece on the outside of the sweater instead of inside.


This will be a nice comfortable, but glittery outfit to look holiday special.
4 different sweater fabrics are on the table, but this one is the first one to use. Then I made the glitter stripe one. I still have a forest green ribbed knit and a black tweed type cashmere feel knit to use ... the earrings are made..but I have to do some organizing and quilting...

Remember cut in multiples and you will have your sets already to just whip up when you have a little time. The sweater band pockets are an experiment. The others may end up with just side pockets or no pockets depending on how this works out. Be back to show you the finished product.... Sew Sew Sew....
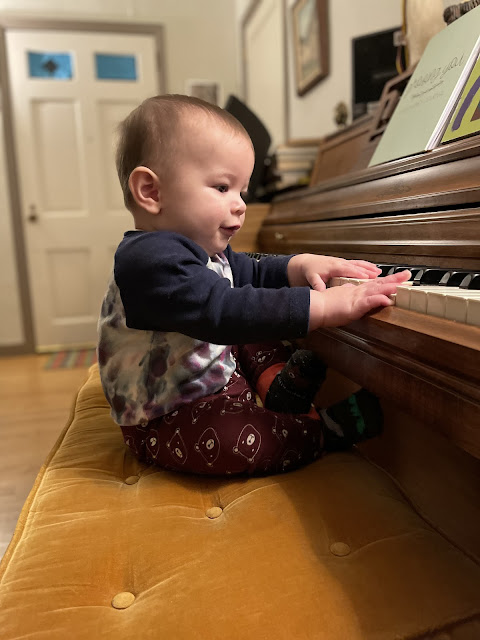
half? of the Ispy quilt is done


Concentration anyone? I spy?

The vest is made from African print fabric with microfiber suede as the patches and what I am applying big on face pockets, plus the pants will be part of this TOTAL SET...The vest is lined with quilted minkie snuggle and there will be a matching clutch crazy quilted. 2 sets of earrings... 1 pr suede and 1 pr minkie.
I am going to apply myself to the I Spy quilt blocks, and then free motion quilt the whole thing
1. Do lots of block pairs to fill the quilt...

2. Decide placement on the quilt
3. Decide the color borders between the blocks framing them in
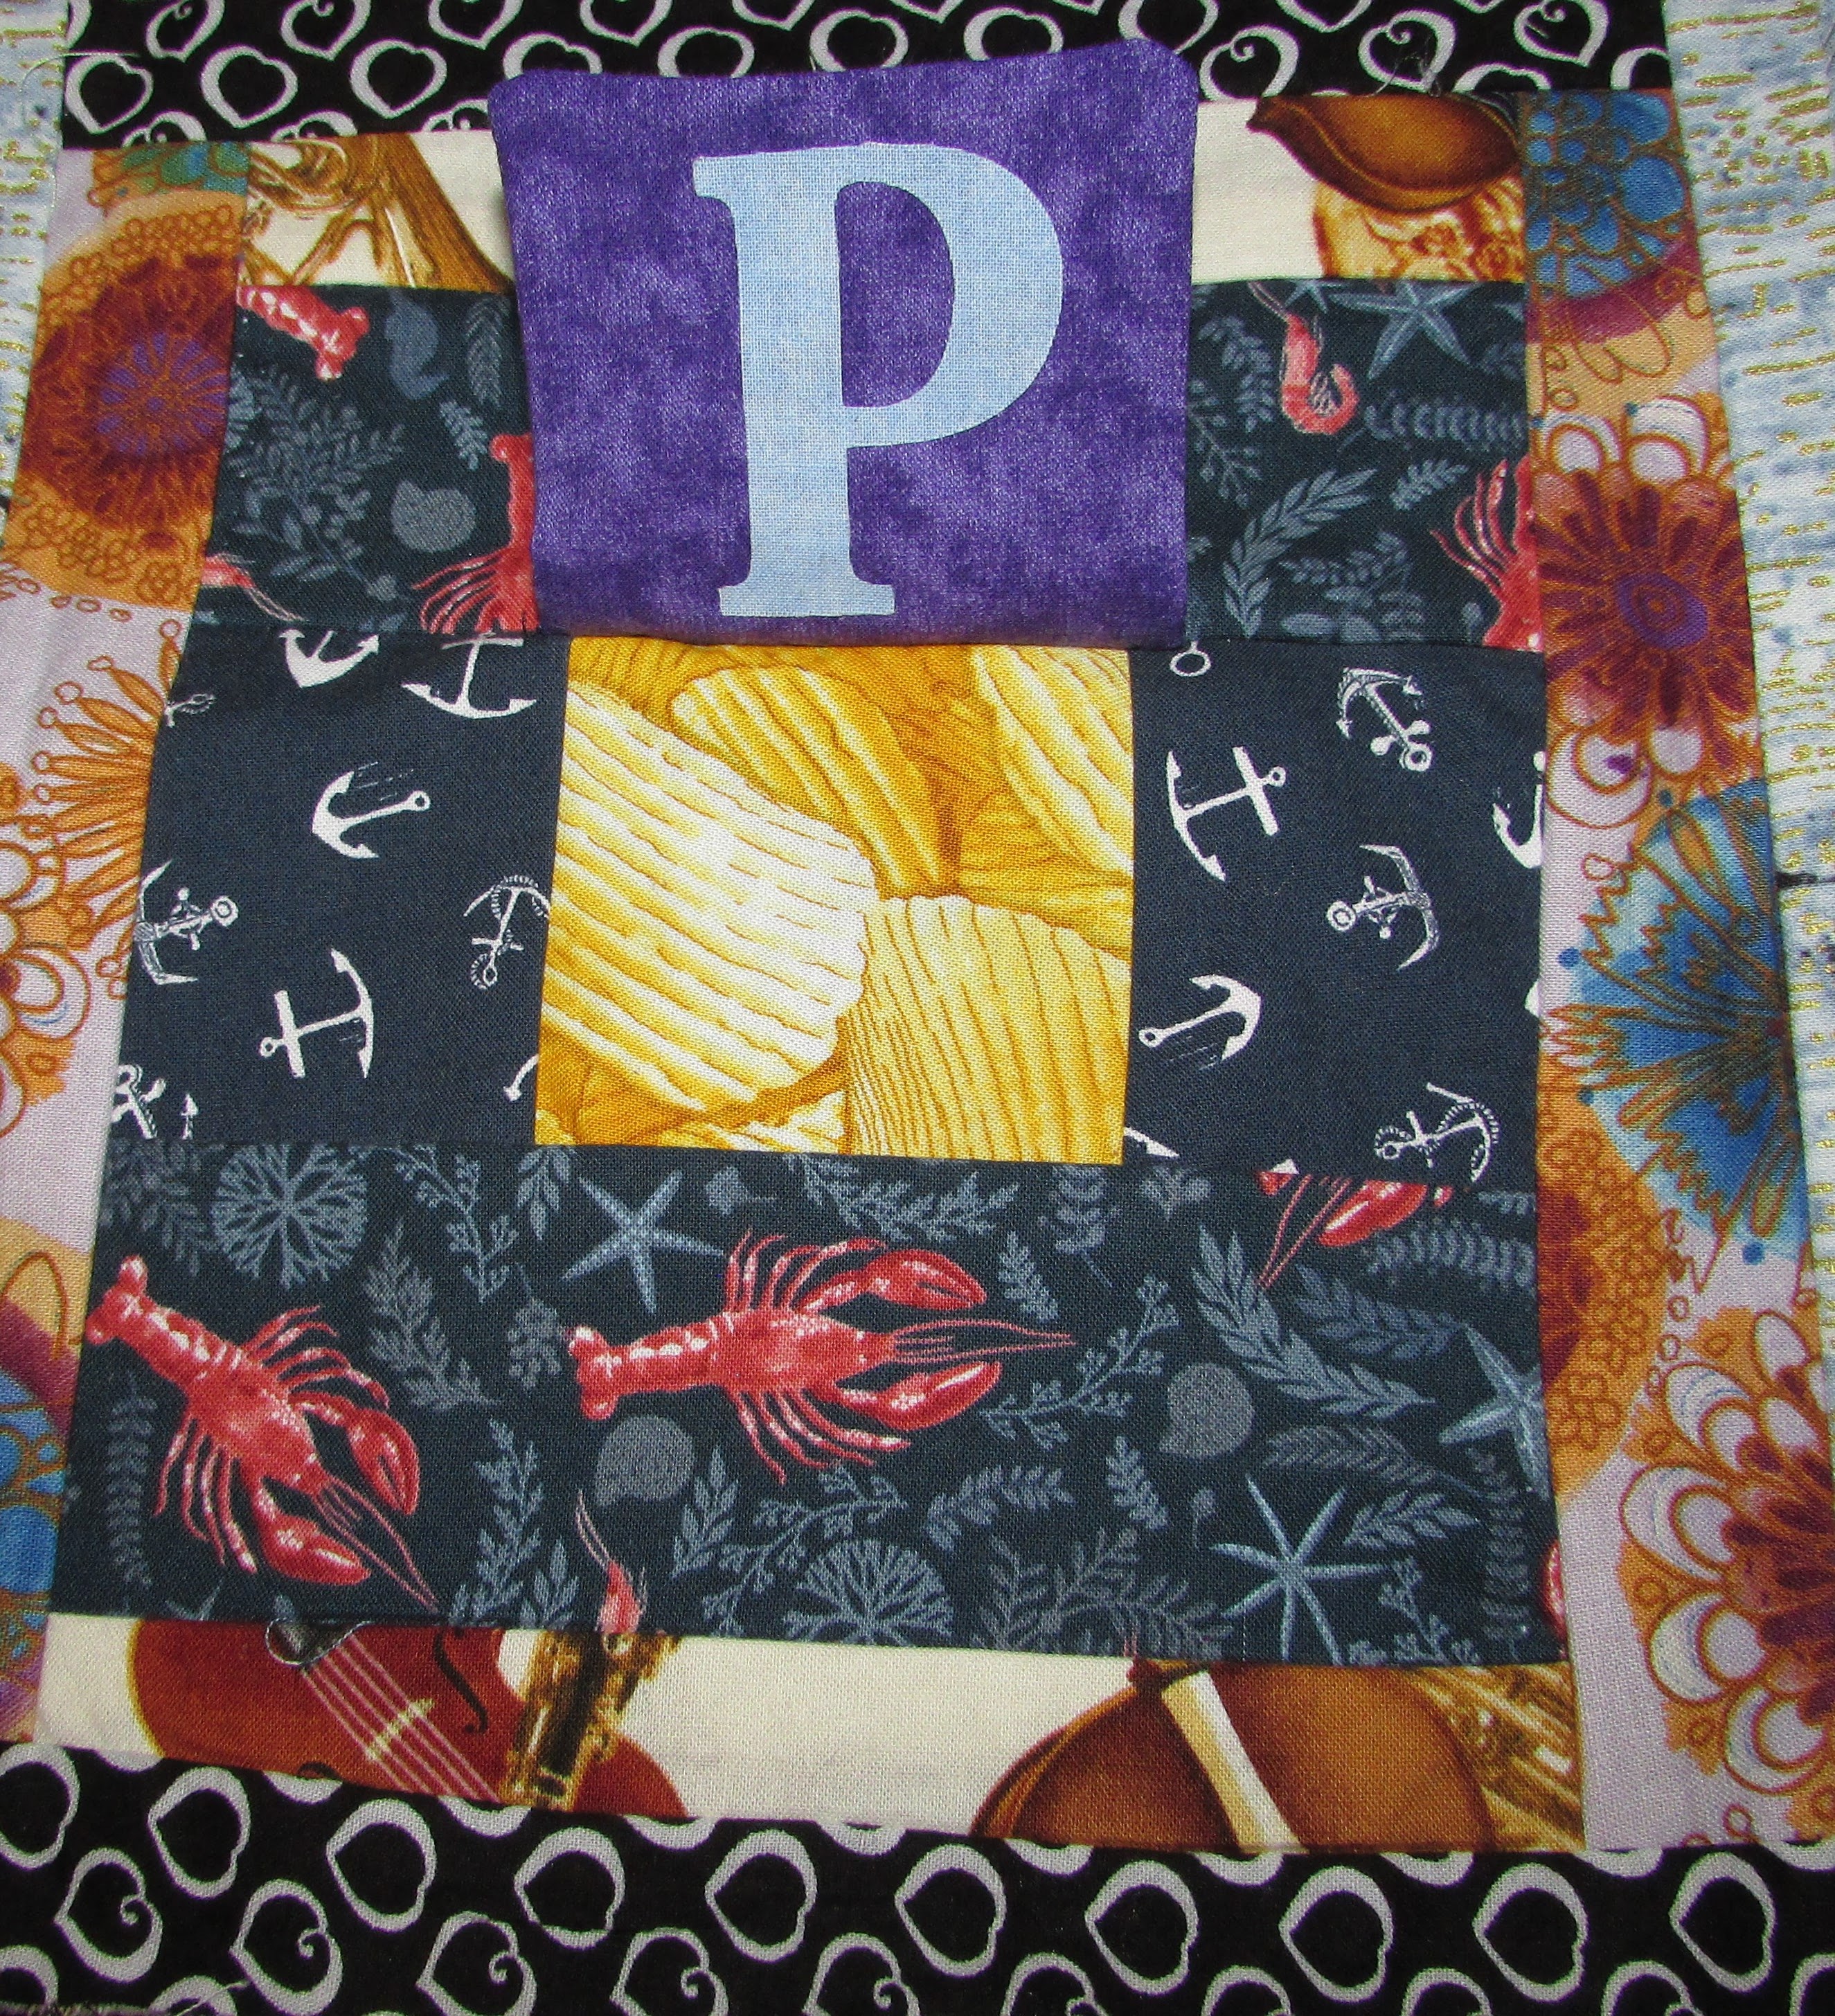
4. Heatnbond Ultrahold the fabric for the Alphabet Letters and Numbers and run them through my accuqult cutter. If you use Heatnbond lite you will have to satin stitch around the letters with the sewing machine. I just ironed mine.

5. Decide the quilt color pattern for the Ispy cover blocks and apply the alphabet on one side and the number it will be on the quilt on the other side.

6. Sew all the flaps into squares and flip to be ready to apply to blocks

7. sew the borders for framing in on the rows of quilt blocks and then sew them together... freemotion any borders the way you want after the top is sewn together.


I am at this stage when I made the list... hopefully at the end of the day I will be finished and then have cut out multiples of pants, tops and bulkie sweaters for the chilly workplace. At least one finished outfit for tomorrow ....including the one on mini me...LOL
If I get a portion of this done I will be happy. Always make my lists more than humanly possible so I can check something off....
The scrap bag is out so I can make some masks from scraps, so if I don't finish a new outfit I can wear an old outfit with a matching mask.
And...... I am going to organize my room...HAHAH

Diva outfit to do .... White lined with Red for Dress coat when cold at work..quilted together.. all has been pre washed ready to cut and sew.... Lips will be mask and pair of earrings... earrings out of all three fabrics for different looks - dress and coatdress will be body curves.


Inspiration to finish the ISPY to do these... my birthday Jacket...LOL.. last year it was the fabulous fur...-more casual this year... haha
OOOPs Gotta go Grammie sit... delay in completing this list...