Okay instead of finishing the Cape, I made Stretch suede gloves to match my suede sherpa coat..... MY Bad.... LOL
Finish Cape Next....
I am so excited... As usual, I am doing the lining first... and then I will know how to do the outside of the slicker fast. I just did the front side with the welt and pocket... and I love the look. Motivates me to do the rest.
This is just one side, but I have never done this kind of overwelt on the pocket and I love the look and feel of it. It motivates me to do the whole lining.... and hopefully the whole cape. The rectangular piece for the pocket flap is sewn on matching your rough seam then sew the regular pocket piece on. When you sew the two seams together it makes the pocket flap go backwards and then you topstitch the pocket flap on its top stitching at the bottom and top so it stays put in that direction. Your regular pocket pieces are stitched in towards the front as you would put your hands. I love the 'Look' and feel.

This is the Cape Lining without the hood.... when I put the Hood On, it is almost wearable. I will not wear this one like this, because I have to sew the slicker side of the cape on to the total cape and flip it to finish it. I don't believe I will hem this on the sides or bottom until I sew the two together. This is getting the experience of making the cape to do the outside, but also making it exactly like the outside so I can make the cape reversible. I will now sew the hood on and then sew the outside together.
This is the lining done with the hood attached....Ready for the outside
I am trying to make myself finish it... I don't enjoy sewing the Rubbery slicker like I do fabric... but it looks pretty cool. My Plastic Canvas Earring Hanger in the background.... LOL

Here I have done the slicker side of the cape and the lining side with the insulation of the cape. The hood on the lining is turned under and top stitched. The hood on the slicker is just raw edges. The lining and the cape will be sewn together at the front seams up to the hood and the side seams where the slit opening is and flipped out so that both sides have a smooth seam. If this step works okay when flipped out I will determine how the hood edges will be. I am thinking the slicker edge will be topstitched over the lining so it is a contrasting trim on the hood. I might add a piece of pleather on top if that doesn't look good enough to me or some other kind of trim to give it pizazz... The same with the bottom of the cape at the hem line... All is a process of trying on and looking and deciding how I want to look and feel. and the practicality of whatever trim, because this is for heavy rainstorms. Most likely the edges down the front will be topstitched about an inch or sew in to give it a flat edge and 1/4 inch in on slits where you put your hands out to put in pockets.

Hard to see the detail, this rubbery slinky slicker fabric does not do anything by itself. The lining was perfect to give it body or you would be like in a plastic bag.
Either side will work, both are waterproof and there is insulation attached to the lining -very lightweight like a ski coat but not heavy at all. It has just enough substance to give the rubbery slicker body. I really liked the flaps on the pocket detail.
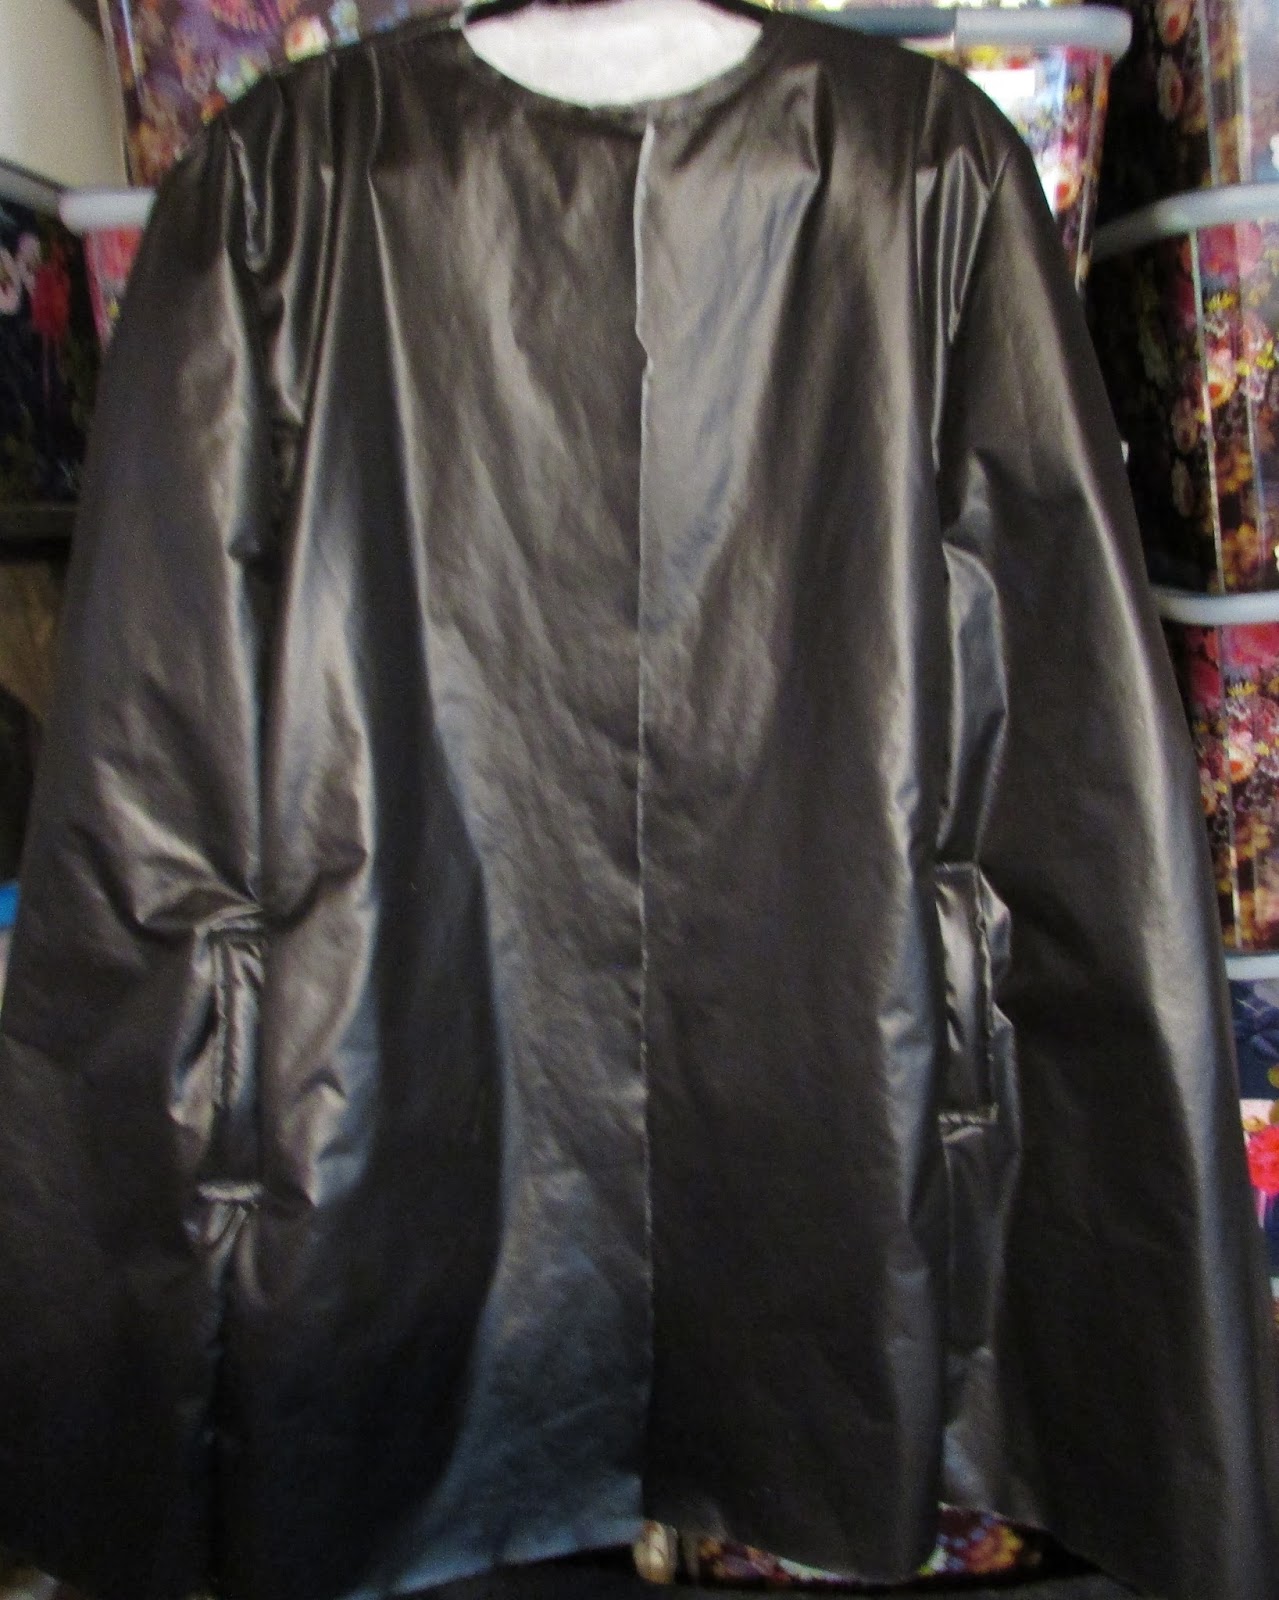
Showing the Back Side of the Cape and Hood and Below are Details
The sides have Slits to bring your arms out and put in Pockets or Drive or whatever
Because of the flexibility of the light slicker and the difference in thickness with the lining insulation, I topstitched all seams and up the slits. Stitched once close to the edge and once 1/4 inch in for detail.
Decided on Buttons with loops.... Buttons on Both sides and same loops make buttoning Reversible
Lining Side Out - Sill has Pockets and Same Loops for Buttoning
The Back of the Lining Side
|