Saturday, May 1, 2021

Baby Minky TIme

 Right now, I have a new Grandson, sew I am commuting on my days off to help get mom and dad some nap time.  In between, I use the sewing machine I gave my daughter to whip up some nap time sewing fun to use with the baby.  When I come home, I am back to sewing clothes and other items as requested to me.

www.Gstreetfabrics.com      click on link to shop online for fabrics in blog.  I work and buy my fabrics from G Street Fabrics in Rockville, Maryland   "SEW FUN!"  Come Buy and See me.  I am usually there Sun Mon Tues

looking for clothes and tips on how to do them scroll down to bottom of posts and there will be a link to older posts.  I make all kinds of clothes, many simple some complicated.  You will find Patterns that may be vintage, but you can still buy them by googling the pattern vender and number, and then tips on how and why I sew them.  Simple and fast, comfortable and all about the fabric you are using to make them beautiful.  Just buy your fabrics at GStreetFabrics and you can order on line... then have your own Free Flowing Fashion when you glide into the room.  No matter what age you are-your first impression is when you enter a room.  Fabrics can be the total impression.  Just throw them over your shoulders and tack some corners and you will be beautiful.   We also sell McCalls and Vogue Patterns in our store, the current Pattern books to look through when coming into the store.... But you can shop online from anywhere!-We ship!!

Always scroll to the bottom and click older posts.  I have been blogging for years, but some things never change... your life,too can be "SEW FINE".  Sewing can put a smile on your face every day!

clothes   - click to go to blogging about the clothes I wear

Guess What I have been Doing?

Had some leftover Minky Scraps from the Old McDonald Book I made the other grandchildren-cut some squares


It has been used.... LOL


Yep, been holding the baby and sewing while he sleeps.  Sew Fine!

Sunday, April 25, 2021

Saturday, April 24, 2021

Baby Baby Baby

http://www.gstreetfabrics.com


All supplies - knit, ribknit, ribbon, thread and snaps came from our store.  Only the butterfly wings were something I printed on knit, and the softstretch heatnbond lite was something I just discovered.


Butterfly Wing Sleepsack Done


Snapfront knit collar-mitten sleeves


One piece mitten sleeves


Knit Ribbing Neckband like the Taboggan


Snap Opening and Ribbon tie bottom

This was much easier than I thought..so if liked I can whip up some more!!! Happy Newborn!

Saturday, April 17, 2021

Quillows Revisited


 Quillows Revisited


This is a Quillow

(Quilt that folds into a pillow)

Everytime I do something, I do something a little bit different for the person I am doing it for.

The black pillow with the handle is the quillow.
The one behind it is just plain faux fur.  This is my favorite seat.-my only seat other than my sewing chair.

My children are grown now, and when I did this one, I did not take the pictures like I did of others.   This child went a lot of places, so I put a handle on the quillow pocket edge, so she could carry it in and out of her car.

It is black minky on one side and the other side is a printed polar fleece.  At the time, both were purchased from  www.Gstreetfabrics.com


It was outline quilted and she likes music so I picked that print on the polar fleece because it reminded me of the things she liked.  She is grown now, and the quillow reappeared, as she was moving into a house and expecting a baby.

I usually make the quillows the size of the piece of fabric.  Minky and Polar fleece are about 5 feet wide.-60 inches.-  I get 3 yards of each that gives me enough for approx 6 foot long quillow and the pillow pocket and maybe a neckroll depending on how frugal I am.

I have another site-with lots of quillows  I have made over the years.  Most of the fabric came from www.Gstreetfabrics.com

The quillow site is www.Kittysquillows.com

You can see there are lots of things you can do.  I love minky... I love cotton, but there is something about cuddling up in your minky quillow in front of a streaming movie-eating popcorn, that can't be beat.  Especially when you make it so they can stick their feet in the pillow pocket.


The pillow pocket is on the minky side, placed after the outline quilting was done.


I outline quilted all the musical notes and the musical instruments..... Thinking of my baby travelling around with each stitch I placed.

Make a Quillow for someone you love.  

On the Quillow site, I also show you some Billows with embroidery-those were done with doublesided minky.  Right now we just have minky at the store. You could put two pieces of minky together to get the same blanket effect, just a little heavier than the Billows shown.

There are many ways to do your quillow.  You can piece the pillow pocket on both sides then sew on your quilt at the bottom... or you can line it with a secondary pocket of minky so there is a footsie pocket that folds into the quillow.  All ways it becomes a pillow to throw on the bed or sofa for necessary cozy time.


Opposite side was Redskins and Pillow pocket


Tuesday, April 13, 2021

Scrapquilting

Straight from  www.Gstreetfabrics.com    

with Kitty


 Block quick piecing scraps around a square.


Sew....   I am, of course, still sewing baby related things..... but inbetween -inspired by the store customer quilters, I am doing block based scrap quilting.....  Quick easy and basically unplanned or any particular size pieced together...


So, this can be done with an 8 x 8  - 10 x 10 or a

12 x 12 block base...  and you can piece it with the block squared straight or on the diagonal...


Your center piece of the block can be whatever size you want and build from there... so here are the first two blocks with the idea that they are the beginning of two different scrap quilts based on the same idea.


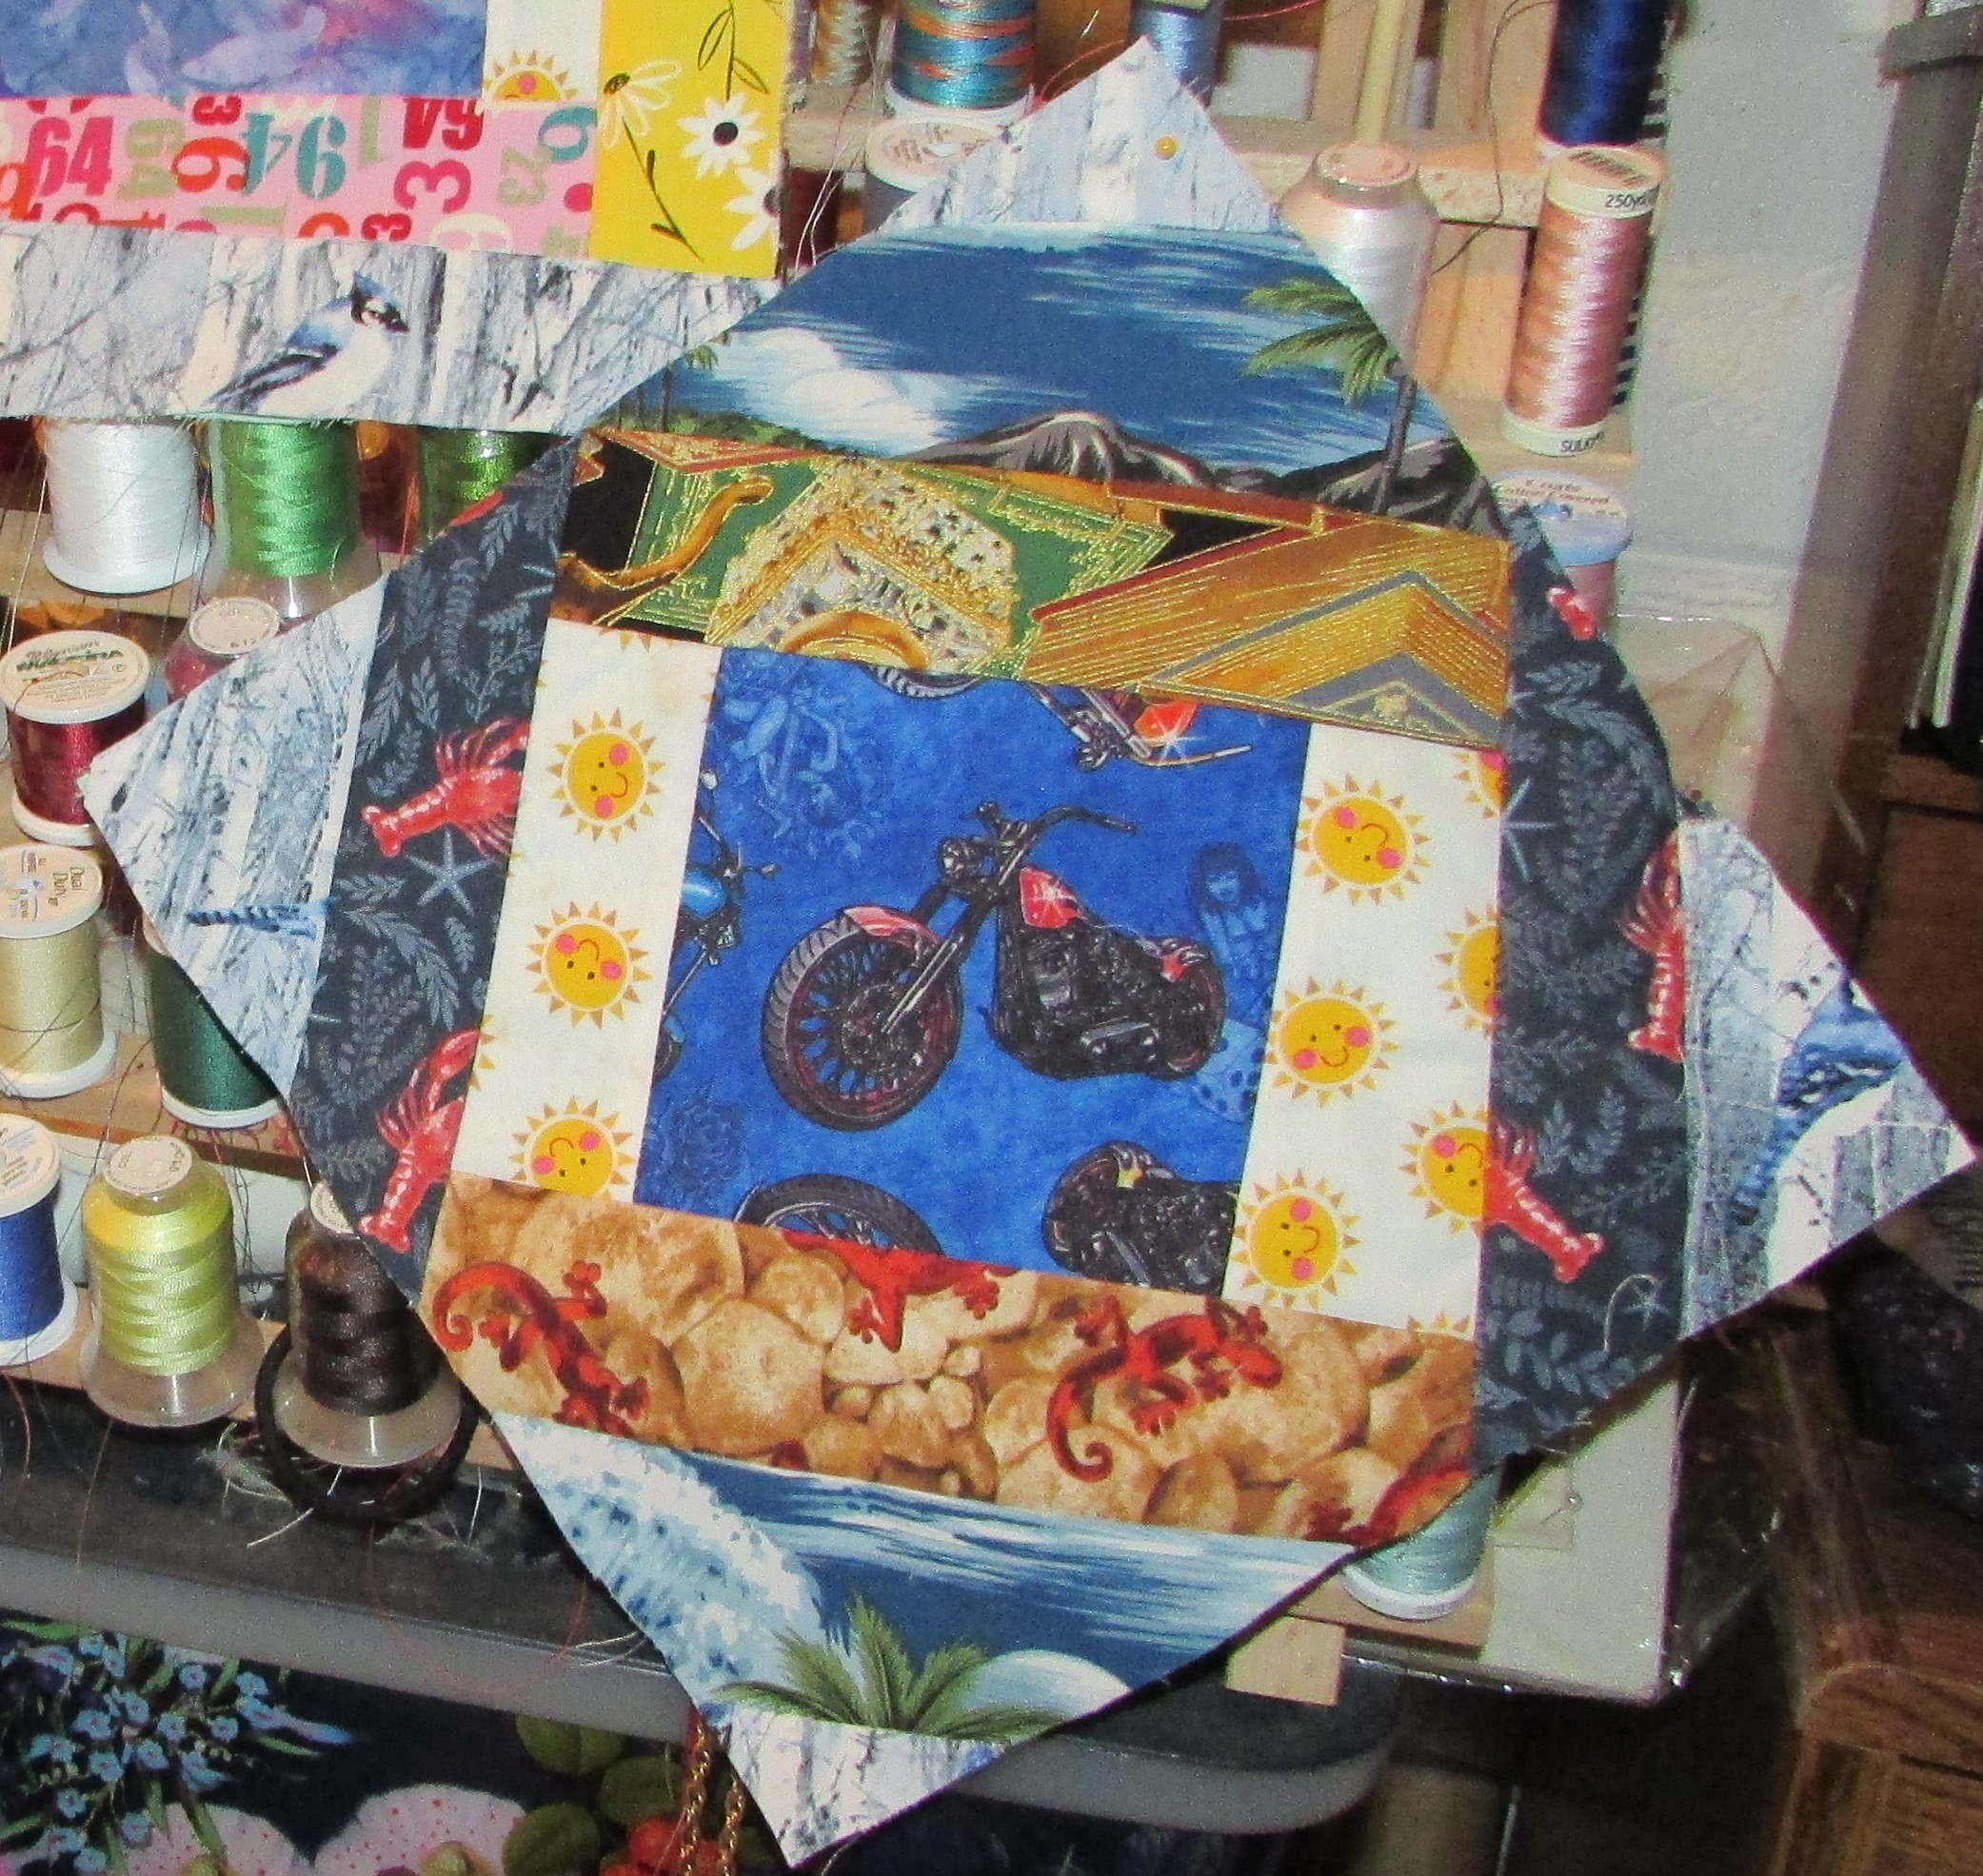
I used 10 x 10 base blocks.   The fabrics are from the boxes of scraps from face masks.


DIAGONAL

I decided the center blocks should be a person place or thing centered and then the other pieces are just random strips.


This one is just straight squared block base.
To do this with me...
Block 1
1.

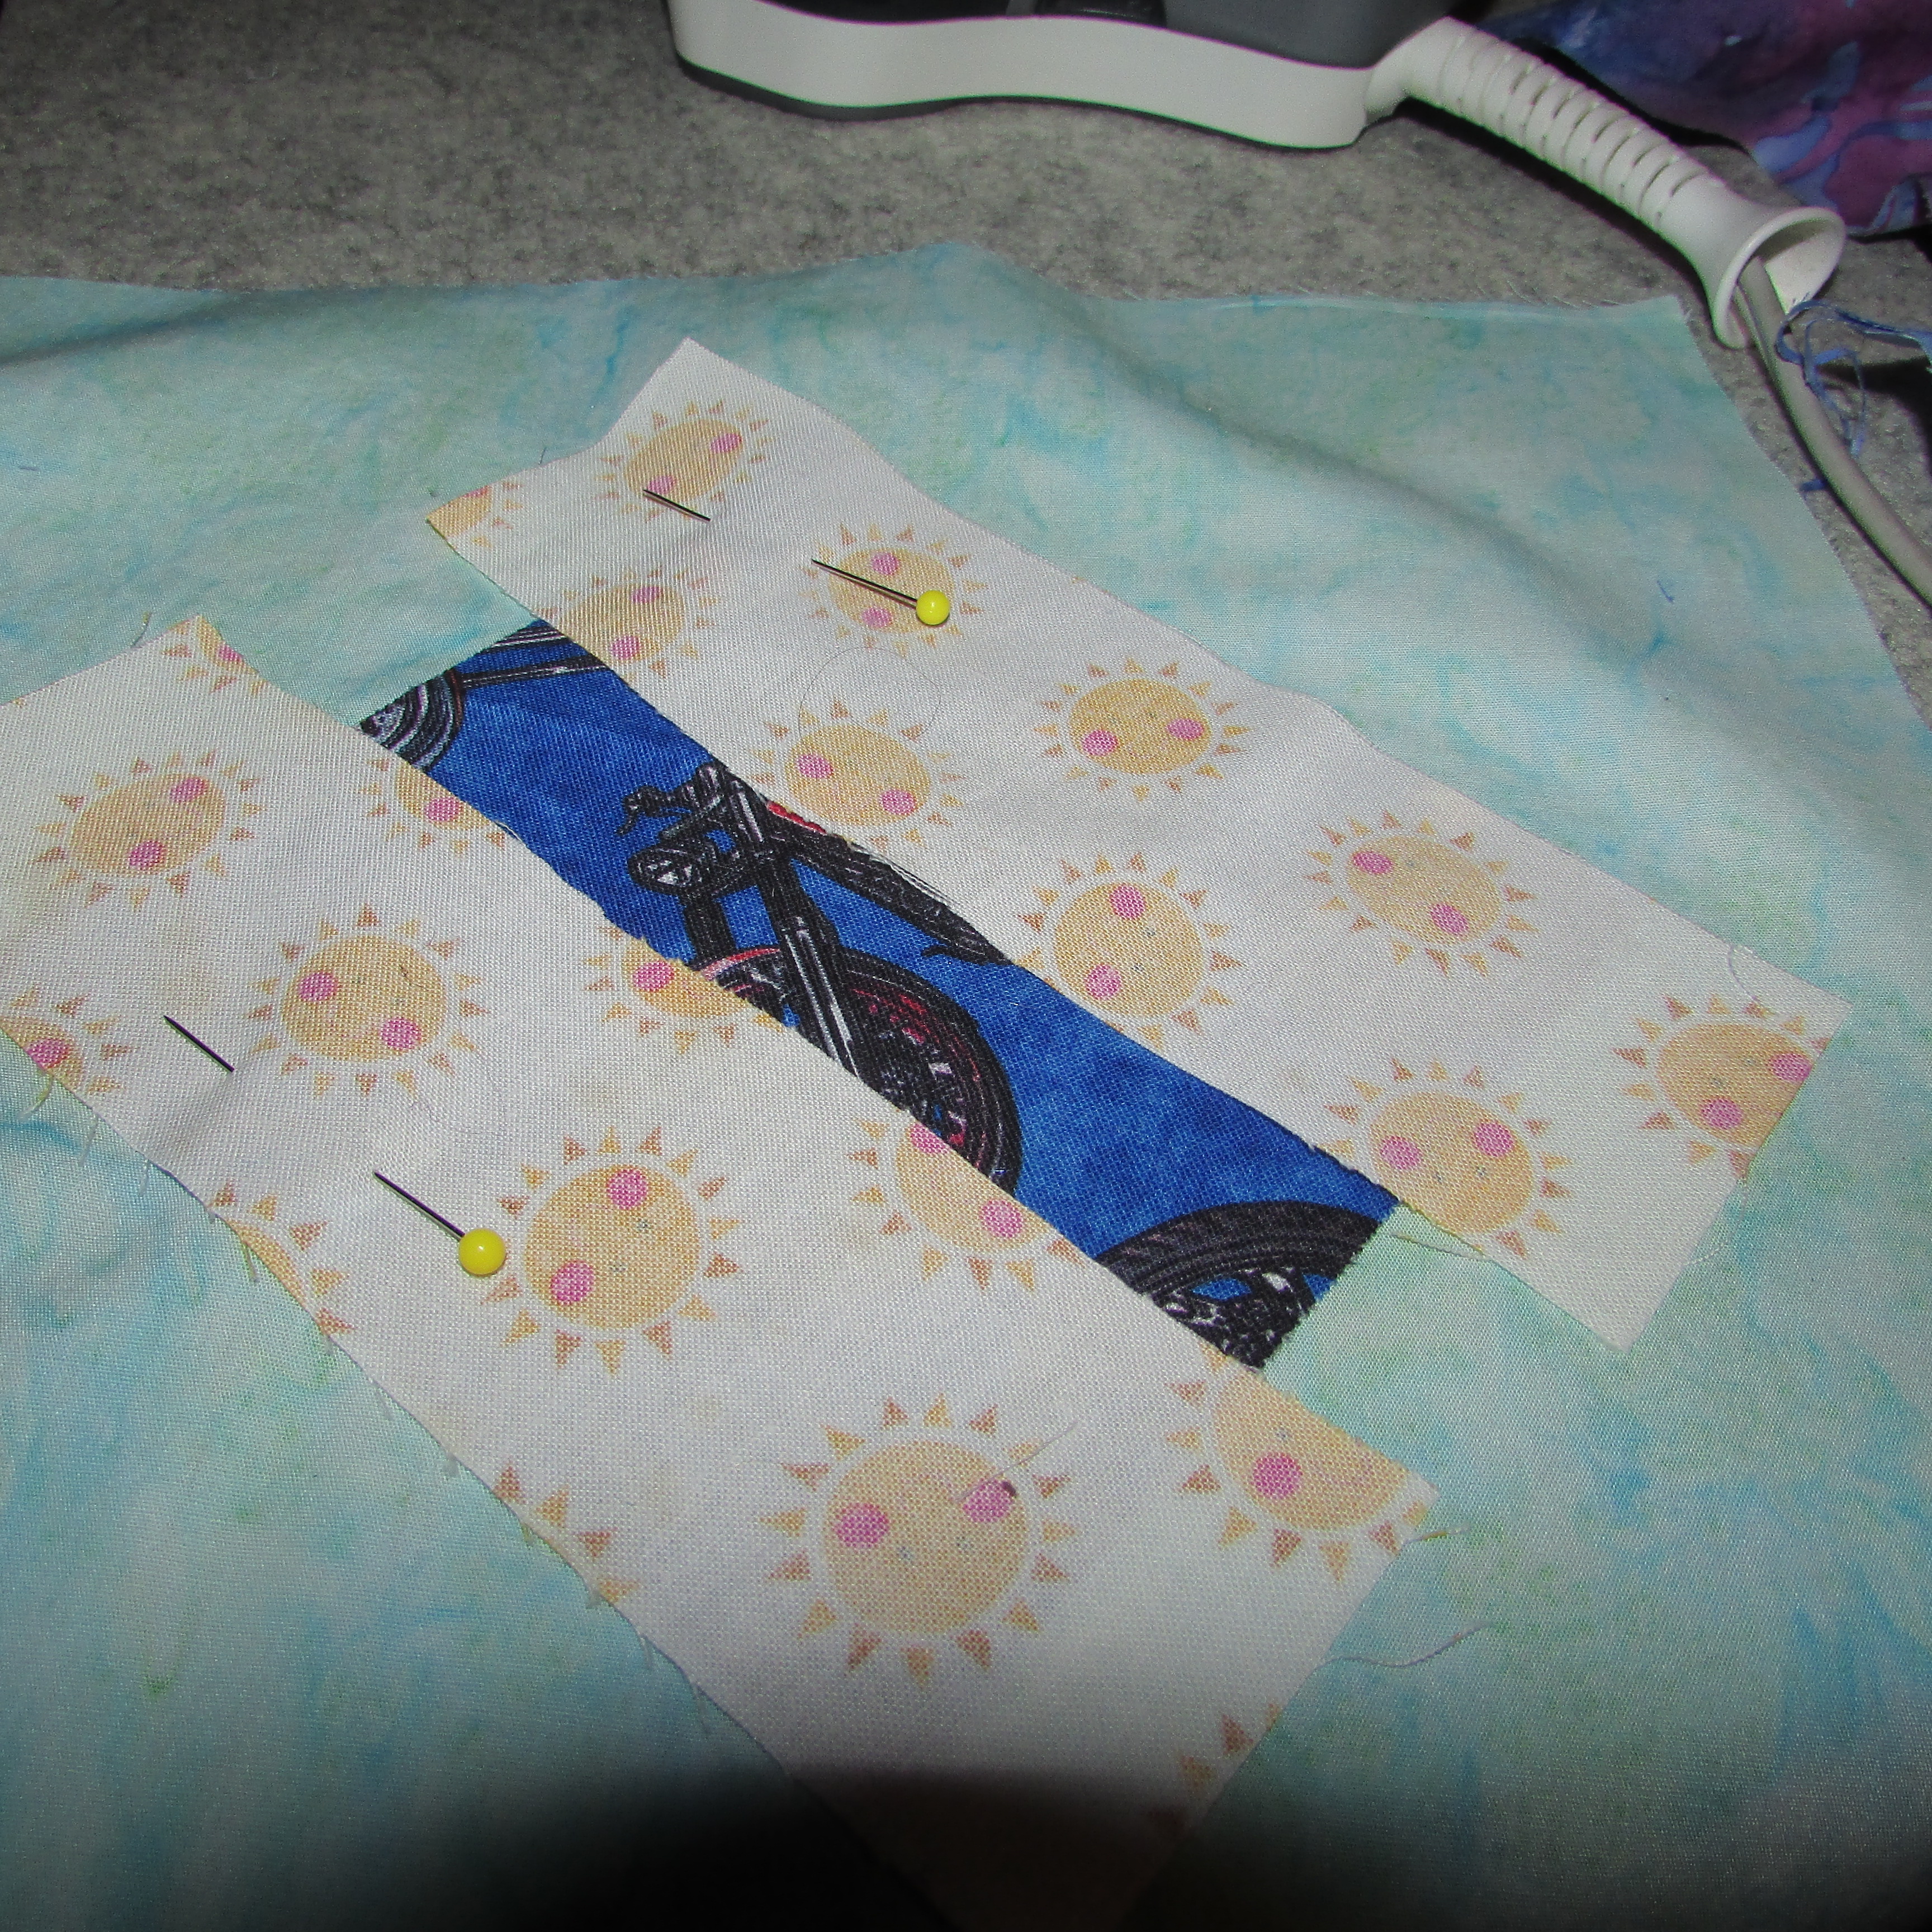
2.  Do all the blocks in the same direction... so the center placement indicates how your throw will look when finished...


3.  Just start picking up strips and adding on the sides...

Make the center square the size of the picture on the that print... and then go from there.

4.  Lay your strips on the square and use quarter inch seams... have your iron handy.. and press as you go... You can see here I have them on a wool pressing pad... and the iron next to it so I can just sew on, press and go to the next pieces..


When the pieces you iron flat start hanging over your base block-trim and you will end up with a finished block the size of your base block-whatever size you chose.
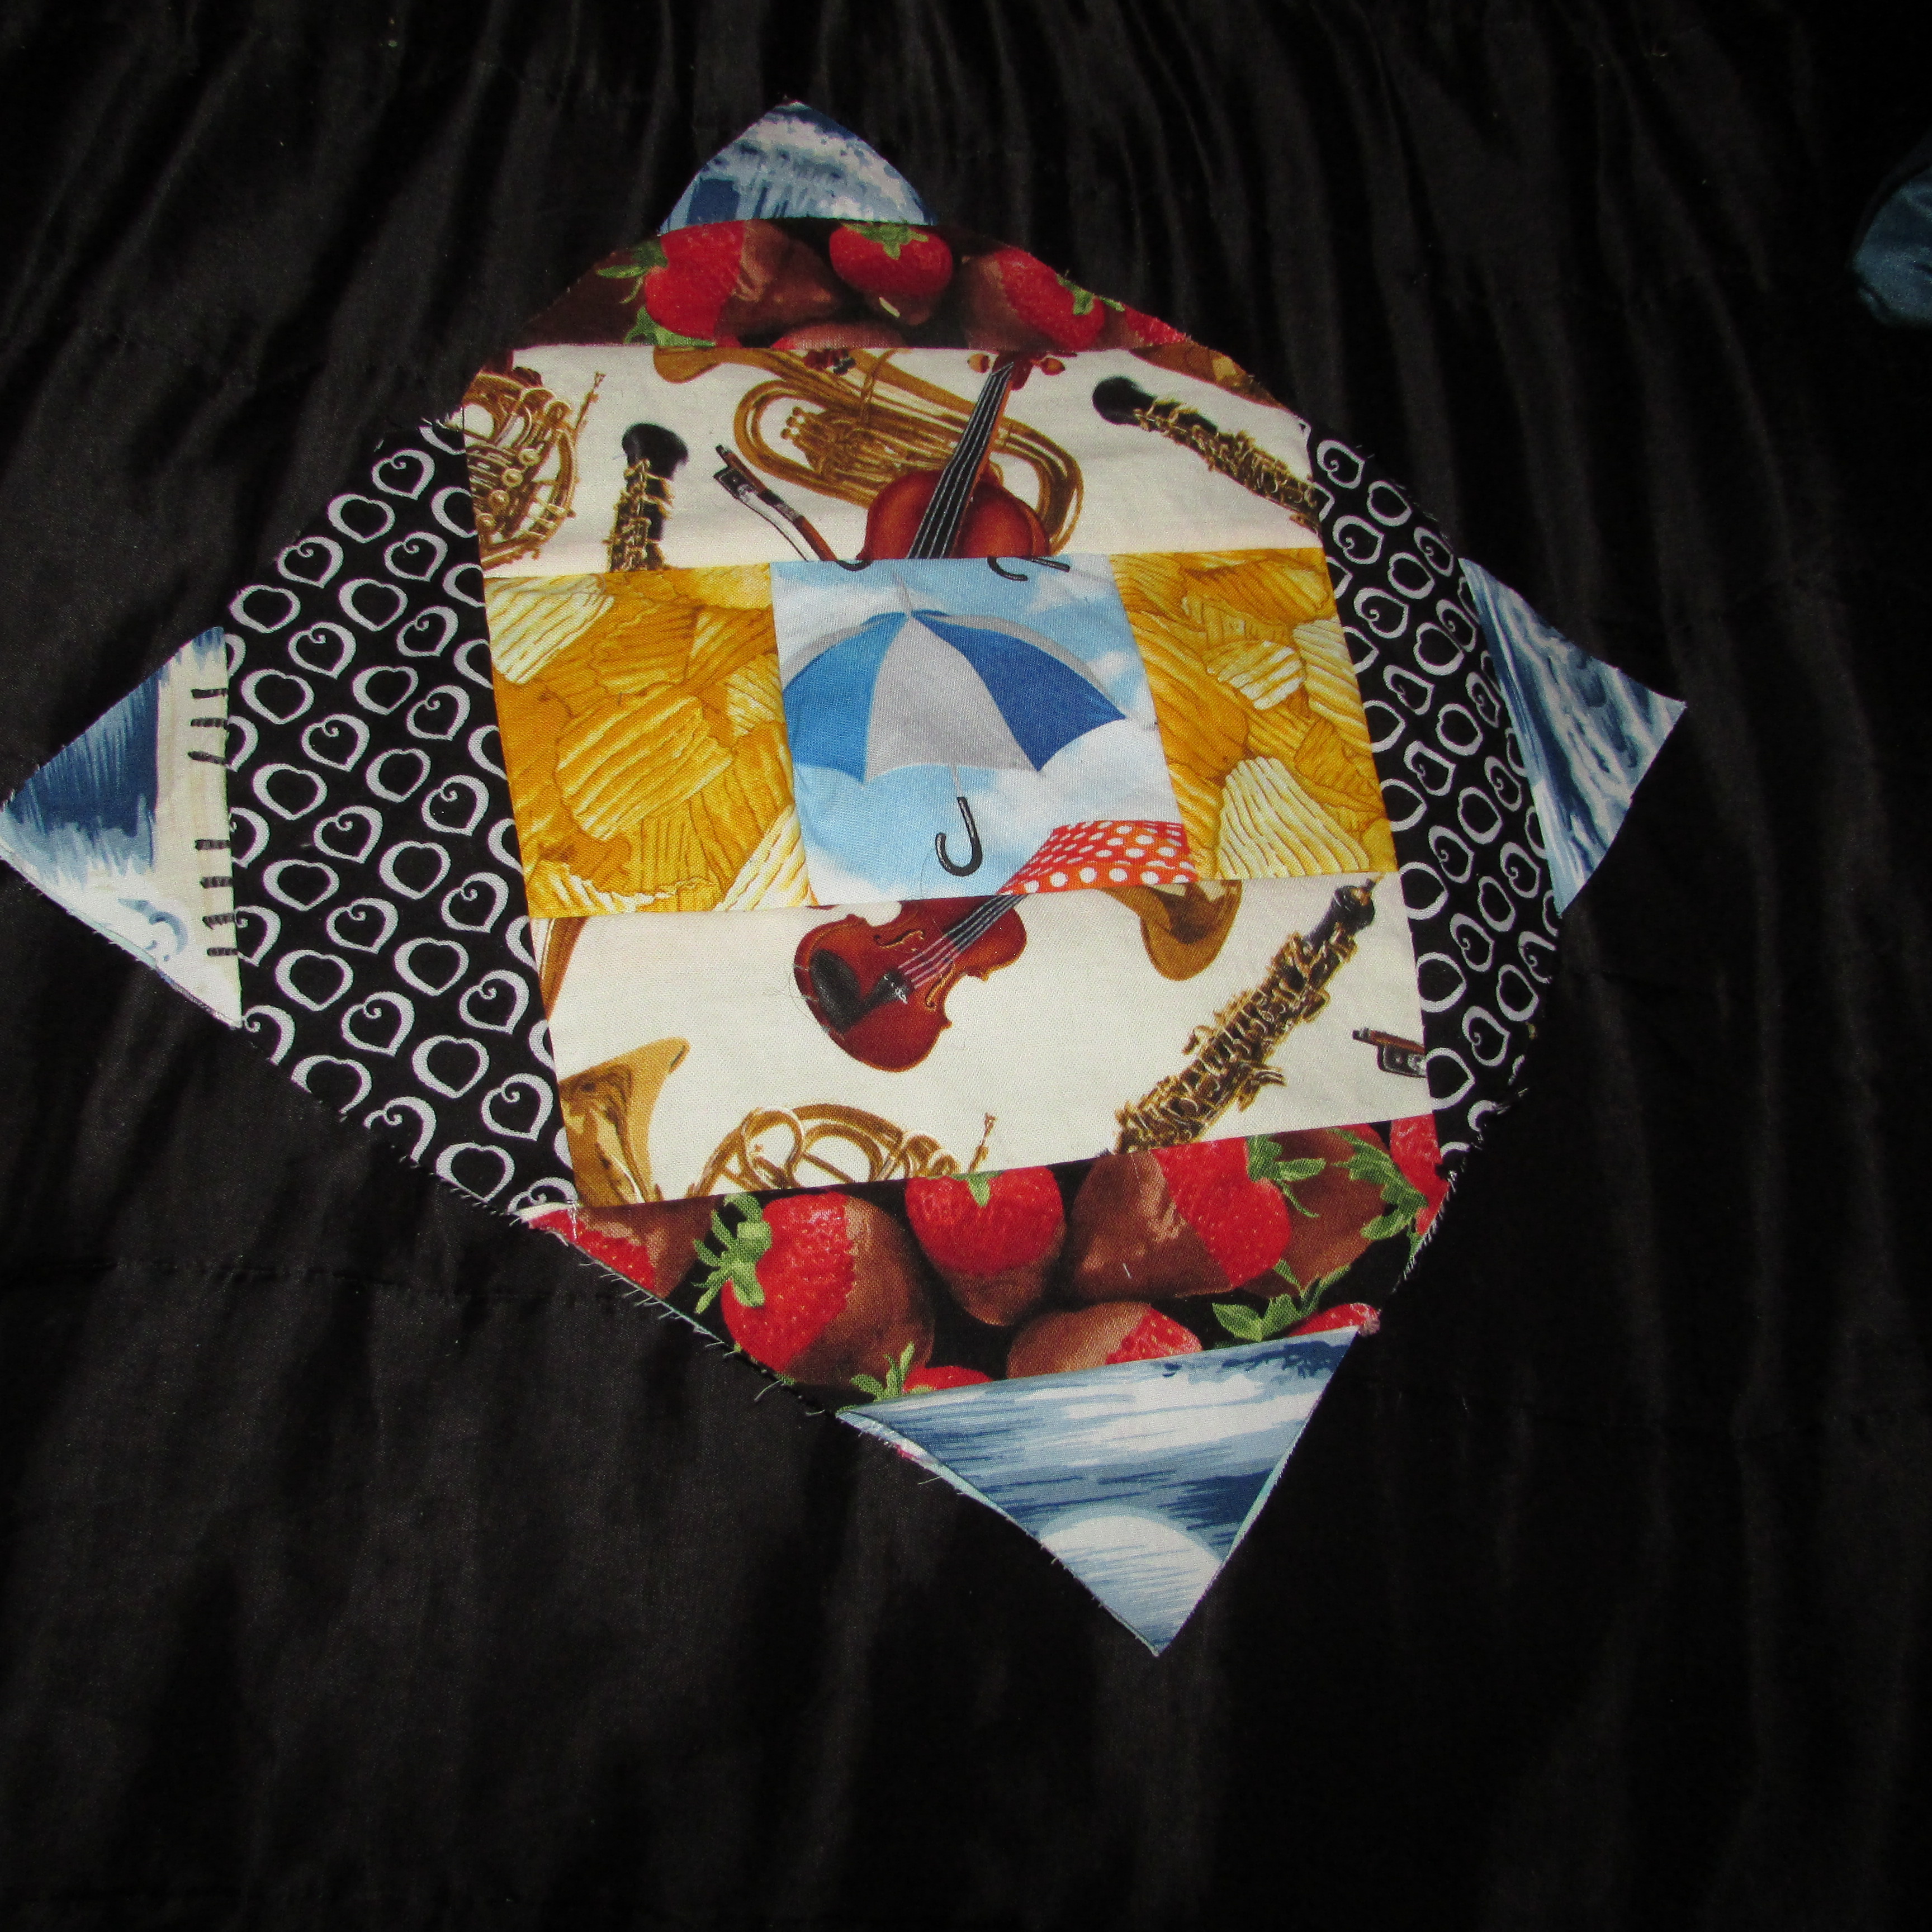

Block 2

Sew.... Those are my mask scraps.... how about you?.... but they don't have to be scraps... you can make yours what ever you like... come to 

I cut a pile of the base squares and lay them next to the sewing machine.... and a pile of center squares... and have a big bag of mask scraps there and then even when I am tired... when I get home from work, I can make at least one square before I konk out... of course, my sewing machine and fabric is next to my bed.... but you can just stumble into bed after doing a block in your sewing room... my space is my everything room.... LOL... Goforit!!  Scrap along or just make a fun quilt that is an ISPY for you grandkids or kids....!!!

www.Gstreetfabrics.com or pick online and we will mail some fabric to you and you can.... piece away your throws..... after I accumulate all the blocks... I will show you different ways to put them together.....  that is another blog....   have fun!!!..

Here is the basic outline of the throws as a basic quilt


I believe I am going to make these about 5 blocks accross and 5 blocks down - plus 3 inch strip bordering so that would make them around 5 feet by 5 feet for a throw.(maybe a little bigger)

5 x 10 +2" x 6(finished strips)
that is 62" plus some kind of binding.... so I will post them when finished... 

Block 3
These are going to become ISPY quilts.... a flap will be stitched over the center squares so the kids can play concentration with themselves or take on a picnic as a picnic throw to have fun while sitting with the picnic basket...
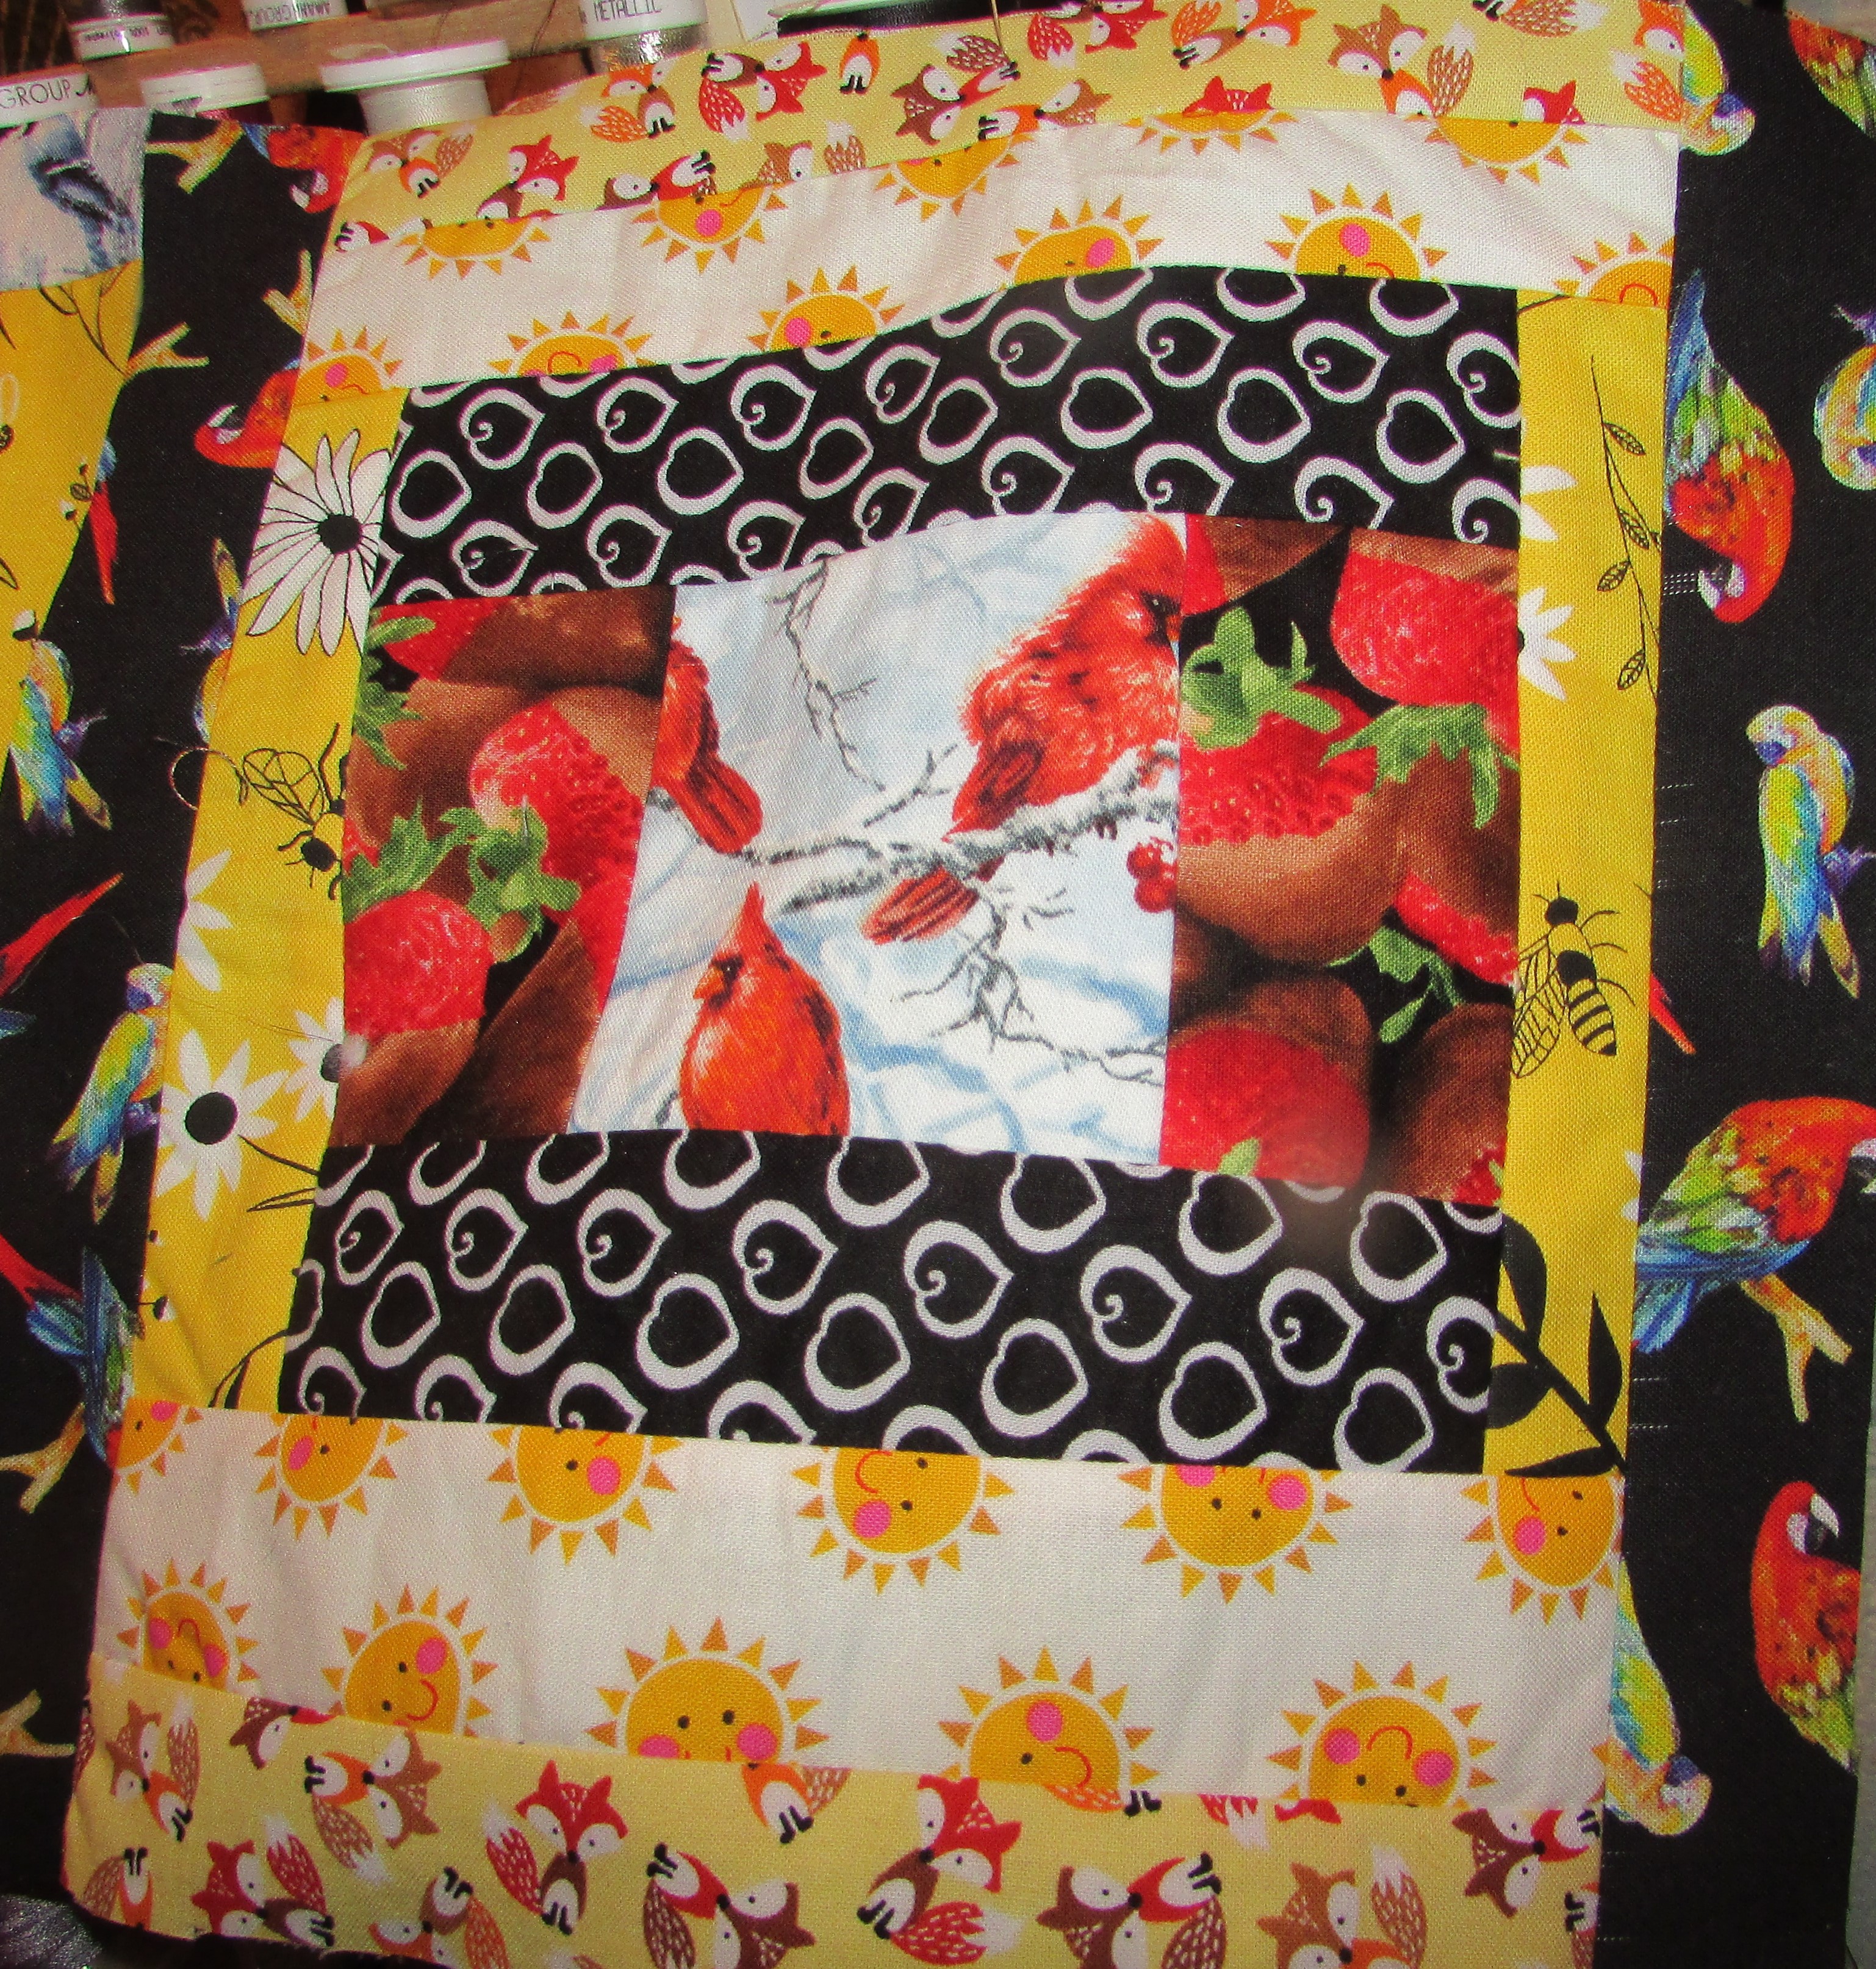
Block 4


Block 5


Block 6

You can jump ahead and make yours.. by taking the square of a batik or plain color fabric and cutting 2.. sewing them wrong sides together and flipping them out through one edge... that edge can be the one you are going to topstitch close to the top seam of the center square so it can be lifted up...  If you want to get really crazy with it you can use the first letter of the alphabet on them before you sew the two together.... then it can also be a learning the words quilt....  but... then you must have instead of just two apples... you would have two apples and two airplanes
so it is not too easy to play concentration.


Block 7

Block 8


Have Fun with it!
Block 9

SCRAPQUILTING

Make a picnic ISPY throw for the little ones you love

Make it a quillow and throw a handle on it.... they will drag it along...LOL

Going the next step to turn your ISPY into a game board for solitaire memory - concentration

Add a flap on top over your center ISPY and put the letter of the word for your Item under the flap.... and a number on top


T for Truck

Or 

You could just do blocks and put a number flap on top


I have to finish the onesie I am doing now and matching cap plus at least one Burp Drool and tinkle set.   See Ya!